
We are reader supported. When you purchase through links on our site, we may earn an affiliate commission. Also, as an Amazon affiliate, we earn from qualifying purchases.
Most beginners try to swing harder and end up missing the ball. Start by learning a clean, repeatable move. Power grows from sequence, balance, and a square barrel. In this guide you will learn the five basic steps that build a reliable swing you can use on day one. You will also get clear cues, simple drills, common mistakes and fixes, and a short practice plan you can run anytime. Stay with it, swing with focus, and let each part stack on the last.
Introduction
A good baseball swing is a chain. Each link sets up the next. When beginners cut out steps or rush, the barrel gets long, timing breaks, and contact suffers. When you build the chain the right way, the swing feels lighter, the bat path stays short to the ball and long through it, and you finish balanced. The five steps below are your base. Learn them in order. Then use the drills and checkpoints to turn them into a habit.
What a Good Swing Does
A good swing repeats under speed. It gets on plane with the pitch early, stays through the hitting zone, and produces solid line drives more often than not. It keeps the head quiet, the front side stable, and the barrel on time. It is simple enough to hold up when the count is tight or the pitcher speeds up. You do not need to swing out of your shoes. You need a clean move that arrives on time.
Equipment and Setup Basics
Choose the right bat
The right bat lets you control the barrel. If it feels heavy at the start or late in the zone, it is too much for now. You should be able to hold the bat out in front of you at shoulder height for a short count without shaking. If your league has length and drop rules, follow them, but pick the lightest legal bat that you can control through the ball. Better control means better contact, and better contact builds power safely.
Grip that frees your wrists
Hold the bat in your fingers more than your palms. Align your knocking knuckles roughly on a line so the wrists can hinge. Rest the top hand over the bottom thumb without squeezing it. Use light to moderate pressure, about six out of ten, with a little more pressure in the last three fingers of the bottom hand. Keep the wrists loose so the barrel can whip. If your forearms tense up before the pitch, you are gripping too hard.
Balanced stance and alignment
Stand a bit wider than shoulder width with your toes parallel and your weight on the balls of your feet. Bend your knees slightly and hinge at the hips so your chest is over your toes, not your heels. Keep your head level and eyes on the pitcher. Set the barrel above the back shoulder with some angle up, not flat behind your head. Relax your front shoulder and keep it pointed toward the pitcher. This balance is the base for the five steps.
The 5 Basic Steps
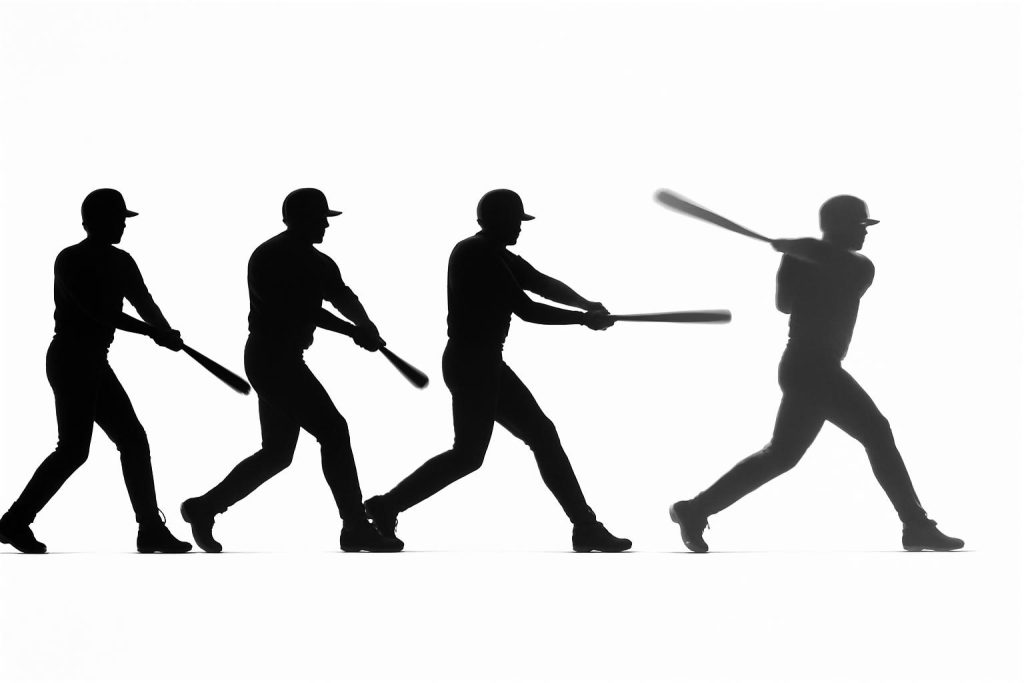
Step 1 Setup
Set your stance, grip, posture, and head. Feel your weight centered between both feet with a slight inside edge on the back foot. The bat is quiet. Your hands start near the back shoulder with the elbows in a natural position, not flared out. Your head is still. Your eyes are on the pitcher. You can hold this position without strain. Good setup removes chaos before the pitch starts.
Step 2 Load
Coil your rear hip and move your hands back a few inches as the pitcher starts the motion. Think small and smooth. Keep your weight inside the back leg, not over the outside edge of the foot. Your back knee points slightly inward as you coil. Your hands stay up near the back shoulder with the rear shoulder blade gently engaged. There is no big arm move. This is a gather, not a reach.
Step 3 Stride
Take a small forward move and land soft on the ball of your front foot. Aim for about three to six inches of stride. Keep the front toe slightly open by ten to twenty degrees as you land. Stay balanced and centered as you stride so your head does not drift forward. Hands stay back as the front foot goes down. You are now ready to launch on time.
Step 4 Launch
Start the swing from the ground up. Your back heel releases, your hips rotate, and your torso follows. The back elbow slots against your side while the knob leads the barrel toward the ball. Keep your head still and your chest over the plate. Keep the barrel short to the ball with your hands near the body. This is not a push with the arms. It is a turn of the body with the barrel connected to the turn.
Step 5 Contact and Follow-through
Make contact with the ball while your top hand is palm up and your bottom hand is palm down. For a middle pitch, contact happens near the front foot. For an inside pitch, contact is slightly in front of the front hip. For an outside pitch, contact is slightly deeper toward the back hip. Extend through the ball on your line. After contact, keep turning your hips and chest and finish balanced. A two hand finish is fine for beginners. Hold your finish for a short count to check balance.
Key Cues Inside Each Step
Setup cues you can feel
Feel the weight on the balls of the feet with heels grounded but light. Keep the hands relaxed and near the back shoulder. Keep the barrel above the shoulder with slight angle. Keep the head still and eyes level. Release tension in the neck and forearms.
Load cues you can trust
Coil the rear hip like you are sitting into the inside edge of the back leg. Move the hands back slightly while staying up. Keep the front shoulder quiet and pointed at the pitcher. Maintain posture as you load so the head does not rise or fall. Stay inside the back foot.
Stride cues for timing
Land soft on the ball of the foot. Keep the stride short and controlled. Keep hands back as the foot lands. Keep your head over the middle of your stance. Avoid a hard front leg lock at foot strike. You want a firm but soft landing that can accept rotation.
Launch cues for barrel speed
Lead with the knob toward the ball. Back elbow slots close to the body. Turn the hips first, then the torso, then the barrel finishes. Keep the hands tight to the body to avoid casting. Keep the barrel on plane early to meet the pitch path.
Contact and finish cues
Top hand palm up, bottom hand palm down at contact. Eyes stay on the contact point. Finish with your chest facing the field and your back heel released. Hold your finish for a count to confirm balance and posture.
Timing and Pitch Tracking
Start the move at the right time
Begin your load as the pitcher starts the motion or as the hands break. Your stride should arrive with the front foot landing just before you launch. If you are late, start your load a beat earlier. If you are early, slow the load and hold your stride for a short pause.
See the ball early
Keep your head still and your eyes level so your vision is clean. Pick up the ball out of the pitcher hand, not halfway to the plate. Track the ball to the contact zone. If your head drifts, vision blurs, and timing suffers. A quiet head gives you a stable picture.
Adjust to pitch location
For inside pitches, get the barrel out front slightly more and keep the swing tight. For outside pitches, let the ball travel a bit deeper and keep the front side closed a touch longer. For high pitches, match the plane a bit steeper and keep the barrel above the hands early. For low pitches, hinge at the hips, keep posture, and match the plane without dropping the back shoulder too much.
Common Mistakes and Simple Fixes
Death grip and tense arms
Problem. You squeeze the bat and lose barrel speed. Fix. Set grip pressure around six out of ten. Keep the bat in the fingers. Wiggle the fingers between pitches to reset. Exhale before the pitch to clear tension.
Overstride and lunge
Problem. Your head drifts forward and you lose power. Fix. Keep the stride at three to six inches. Land soft on the ball of the foot. Place a marker on the ground and land just short of it to train control.
Casting the hands
Problem. The hands move away from the body and the barrel gets long. Fix. Keep the knob moving toward the ball. Feel the back elbow slot against the side. Use the knob to ball path drill to train a tight turn.
Dropping the back shoulder
Problem. The barrel loops under and you pop up. Fix. Keep posture with a small hip hinge. Match the plane by turning, not by tilting the shoulders too much. Put a high tee just above the normal height and drive line drives to train a tighter path.
Spinning off the front side
Problem. The front shoulder opens too early and the barrel cuts across the ball. Fix. Keep the front shoulder quiet through launch. Think chest over the plate. Hold your finish for a count to check that you did not pull off.
Late timing
Problem. You are always behind good fastballs. Fix. Start the load a beat sooner. Keep the stride short so you can launch quickly. Use front toss with increasing speed to build rhythm.
Drills That Build the Five Steps
Stance and setup hold
Get into your stance with full posture and hold for ten seconds. Check head still, eyes level, grip relaxed, barrel above the shoulder. Reset and repeat for five holds. This sets your base and removes tension.
No stride swings
From your stance, lift the heel slightly and put it back down to simulate a mini stride, then launch. This trains balance and a short move. Take sets of five with focus on a quiet head and a tight turn.
Load and pause
Load back, hold for one second, then stride and swing. Keep the hands up and back during the hold. This drill teaches control of the gather and prevents a big reach with the hands.
Stride and stick
Stride to a soft front foot landing and freeze for one second with hands still back. Then swing. This locks in timing of the lower body and stops a drifting head.
Knob to ball path drill
Set a ball on a tee. From launch, move the knob straight toward the inside seam of the ball before letting the barrel release. Keep the back elbow close to the body. This builds a short path and cures casting.
Top hand and bottom hand one arm drills
Use the top hand only and make short swings off a high tee to feel palm up through contact. Use the bottom hand only to feel the lead arm guide the path without rolling the wrist. Keep the barrel light and smooth. Take small sets to avoid overuse.
High tee and low tee
Place the tee slightly above the belt and drive firm line drives without dropping the back shoulder. Then place it at the bottom of the strike zone and drive line drives by matching the plane with hip hinge, not by collapsing. Switch heights every five swings.
Front toss progression
Have a partner toss from short distance with an L screen. Start slow and build pace. Work middle strikes first, then inside and outside. Keep the count of solid line drives and adjust timing cues between sets.
Safety and Warm Up
Move well before you swing
Do five minutes of movement to warm up. Add arm circles, band pull aparts or light face pulls, hip hinges, lunges, and torso turns. Finish with five to ten dry swings at half speed to groove the pattern. A short warm up sharpens timing and protects your shoulders and hips.
Stay clear and stay aware
Wear a helmet in live hitting. Make sure no one is behind you or walking into the cage. Check the area before every swing. Use an L screen for front toss. Inspect your bat for cracks and your grip tape for tears.
Ball Flight and Quick Feedback
Good contact feels clean and sounds crisp. The ball leaves on a line that carries. If most balls slice to the opposite field, you are likely casting or rolling early. If most balls hook to the pull side, you may be spinning off. Aim for firm line drives through the middle. Track where solid balls land and note the height. Quality over volume builds fast progress.
Simple Practice Plan
Keep sessions short and focused. Stack small wins. Use clear checkpoints and stop when quality drops. This builds skill without overload and lets your brain lock in the pattern.
Simple 20 minute plan. 5 min warm up. 5 min dry swings and no stride drill. 5 min tee work for 30 to 40 swings. 5 min soft toss or front toss.
On tee days, work most swings to the middle. Add a few to inside and outside spots. On front toss days, start with easy rhythm, then add a little speed. Hold your finish on the last rep of each set to test balance.
Progress Checks You Can Do Today
Hold your finish for a count. If you fall off or spin, reset your stride and front side. Check your contact point relative to your body based on pitch location. For a middle pitch, it should be near the front foot. Film a few swings from the side and look for the knob to move toward the ball before the barrel releases. Count solid line drives out of ten. Aim for seven or more as you build consistency. If your contact rate drops, reduce speed and rebuild the steps.
Conclusion
A clean swing is built, not guessed. The five steps give you a map. Setup gives you balance. Load gathers. Stride sets timing. Launch turns the body and delivers the barrel. Contact and follow through finish the chain. Keep the grip loose in the fingers. Keep the head quiet. Keep the stride short. Train the knob to the ball. Hold your finish. Use the simple plan to practice. In a few focused sessions you will feel the barrel get short, on time, and strong through the zone. Stay patient and stack quality reps.
FAQ
Q. What are the 5 basic steps to a baseball swing
A. Setup, Load, Stride, Launch, Contact and Follow through.
Q. How should a beginner grip the bat
A. Keep the grip in the fingers, align the knocking knuckles roughly, apply light pressure about six out of ten, and keep the wrists loose so the barrel can whip.
Q. How long should the stride be for a beginner
A. About three to six inches with a soft landing on the ball of the foot and the front toe slightly open while staying balanced and centered.
Q. Where should contact happen relative to the body
A. For a middle pitch, contact happens near the front foot. For an inside pitch, contact is slightly in front of the front hip. For an outside pitch, contact is slightly deeper toward the back hip.
Q. What is a simple 20 minute practice plan for beginners
A. Simple 20 minute plan. 5 min warm up. 5 min dry swings and no stride drill. 5 min tee work for 30 to 40 swings. 5 min soft toss or front toss.